

This describes how game assets are created, which involves serious amount of scripting and automation
This is sub-layout for documentation pages
Asset creation can be one of the most time consuming things in entire game development.
If it can be automated, it saves unbelieveable amount of time.
The point of asset automation is not short running speed, but to require as less human effort as possible
This focuses on how the graphics for the game is created.
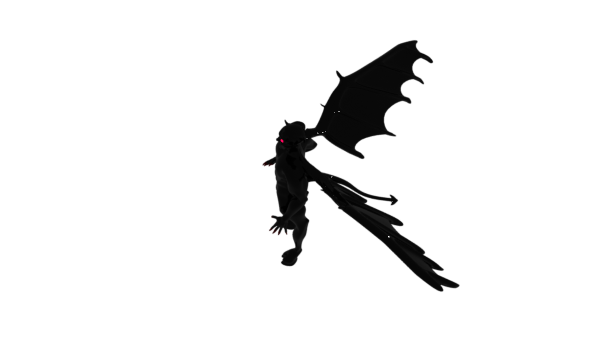
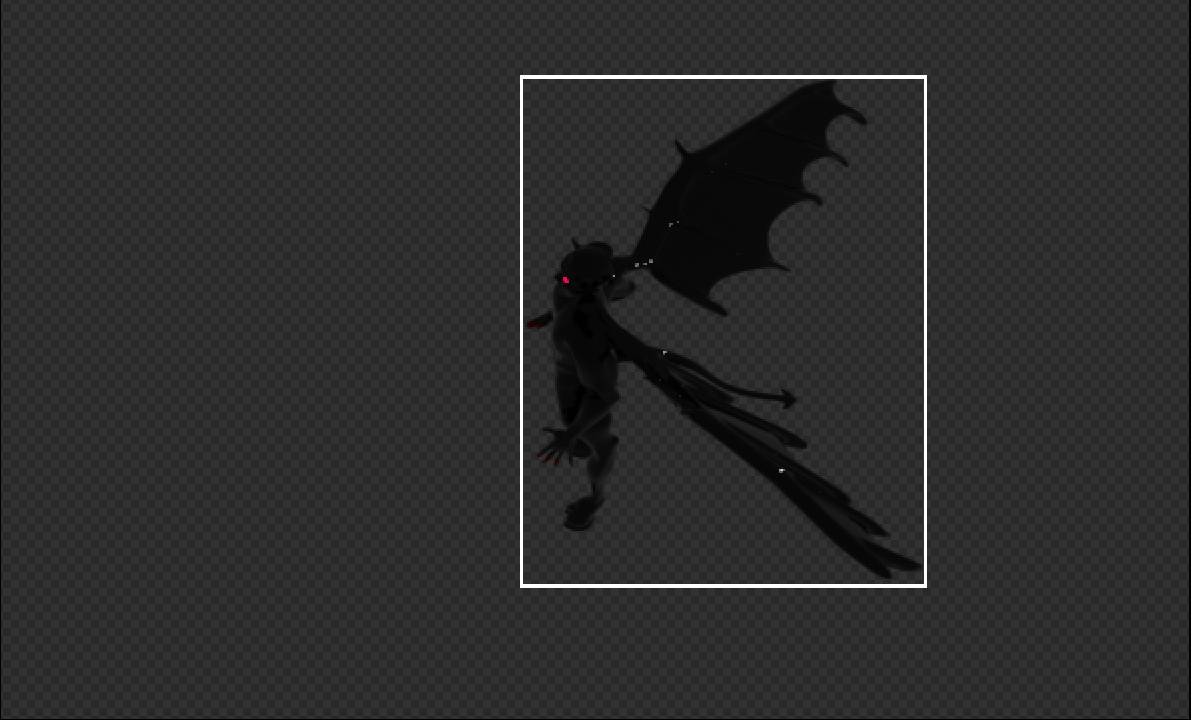
Each character must have separate texture sheet for all angles of the animation. Here is an example of walk animation, for right and upper-left angle:


Even if we use blender, we would have to rotate model, and then click to render.
Then repeat this process to render all frames.
This, however, can be automated by running a custom made python script,
which rotates the model base by constant angle, and then renders, and repeats, until
all angles have been rendered
Now, after blender rendering, we are left with like 200 files, and they all have alot of transparent pixels around.
From this, we want to create spritesheet, one for each angle.
For this puspose, I have written an application using C Sharp language, that helps to create the spritesheets with only few clicks
The following algorithm is implemented in the application mentioned above, and allows complete automation of spritesheet creation,
aswell as the animation JSON, containing the animation data.
Input: X files, where each file is one frame of animation.
They go in order, first, only frames for R angle, then for RD angle, and so on. (that is defined by the blender python script)
Output: A minified sprite sheet + .JSON file for each angle. JSON file contains animation data
Imagine following two sprite frames. Since all frames do have same size, we
can cut off the transparent pixels in such a way to minimize final image size
Note: although the images look identical, they are not, they differ only slightly, since they form an animation...

After minification we would get final spritesheet like this:
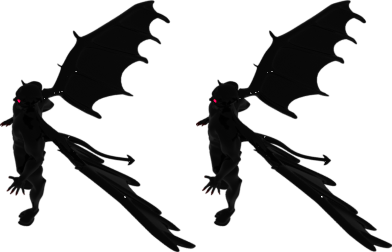
As can be seen, the transparent pixels were removed to minify the final spriteshet
The approach to achieve this is as follows:
Allthough the technique above allows serious automation of really any animation desired,
it is not enough, and unfortunatelly, for certain animation sheets,
an origin point must be defined in order to achieve correct displayment.
Let's simplify the problem to only one frame per animation.
Imagine we have final sprite sheets for 2 angles (right and left-up):
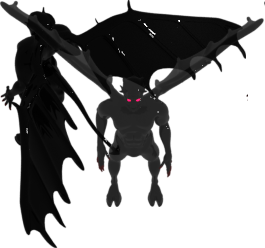
If we draw both images on one position, using upper left corner as a origin, the monster would appear to be standing on a different position
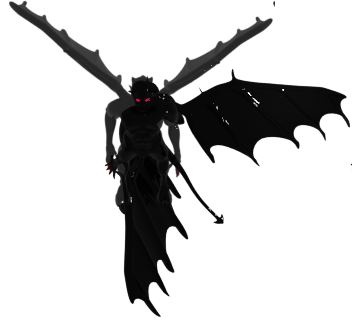
With correct origin point defined, when drawn and shifter using that origin, the sprite would be displayed correctly
The problem now is, how do we find such an origin point without any effort?
We use the fact, that all rendered blender image files will have same size,
and we add a sphere to the scene. A sphere, because that is 3D object, which will always project as a circle,
no matter the linear tranformation (does not matter, where is the camera and at what angle)
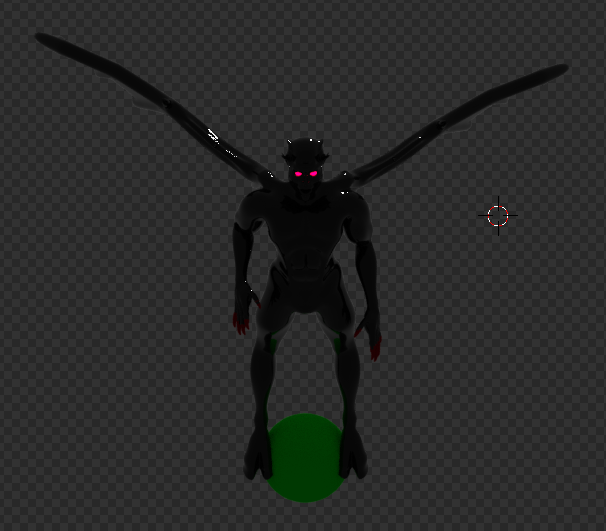
Then, we render our model normally, hiding the sphere from render.
After that, we render one image, rendering only the green sphere
Now, considering, that we find the minimal bounding rectangle for model image:
We also find the minimal bounding rectangle for one sphere image, and get the centre on the rectangle to get the centre of the sphere, then we can calculate the origin point (displayed as blue lines)

The equippables are discussed here

